My Workbench
1. Building the pegboard:
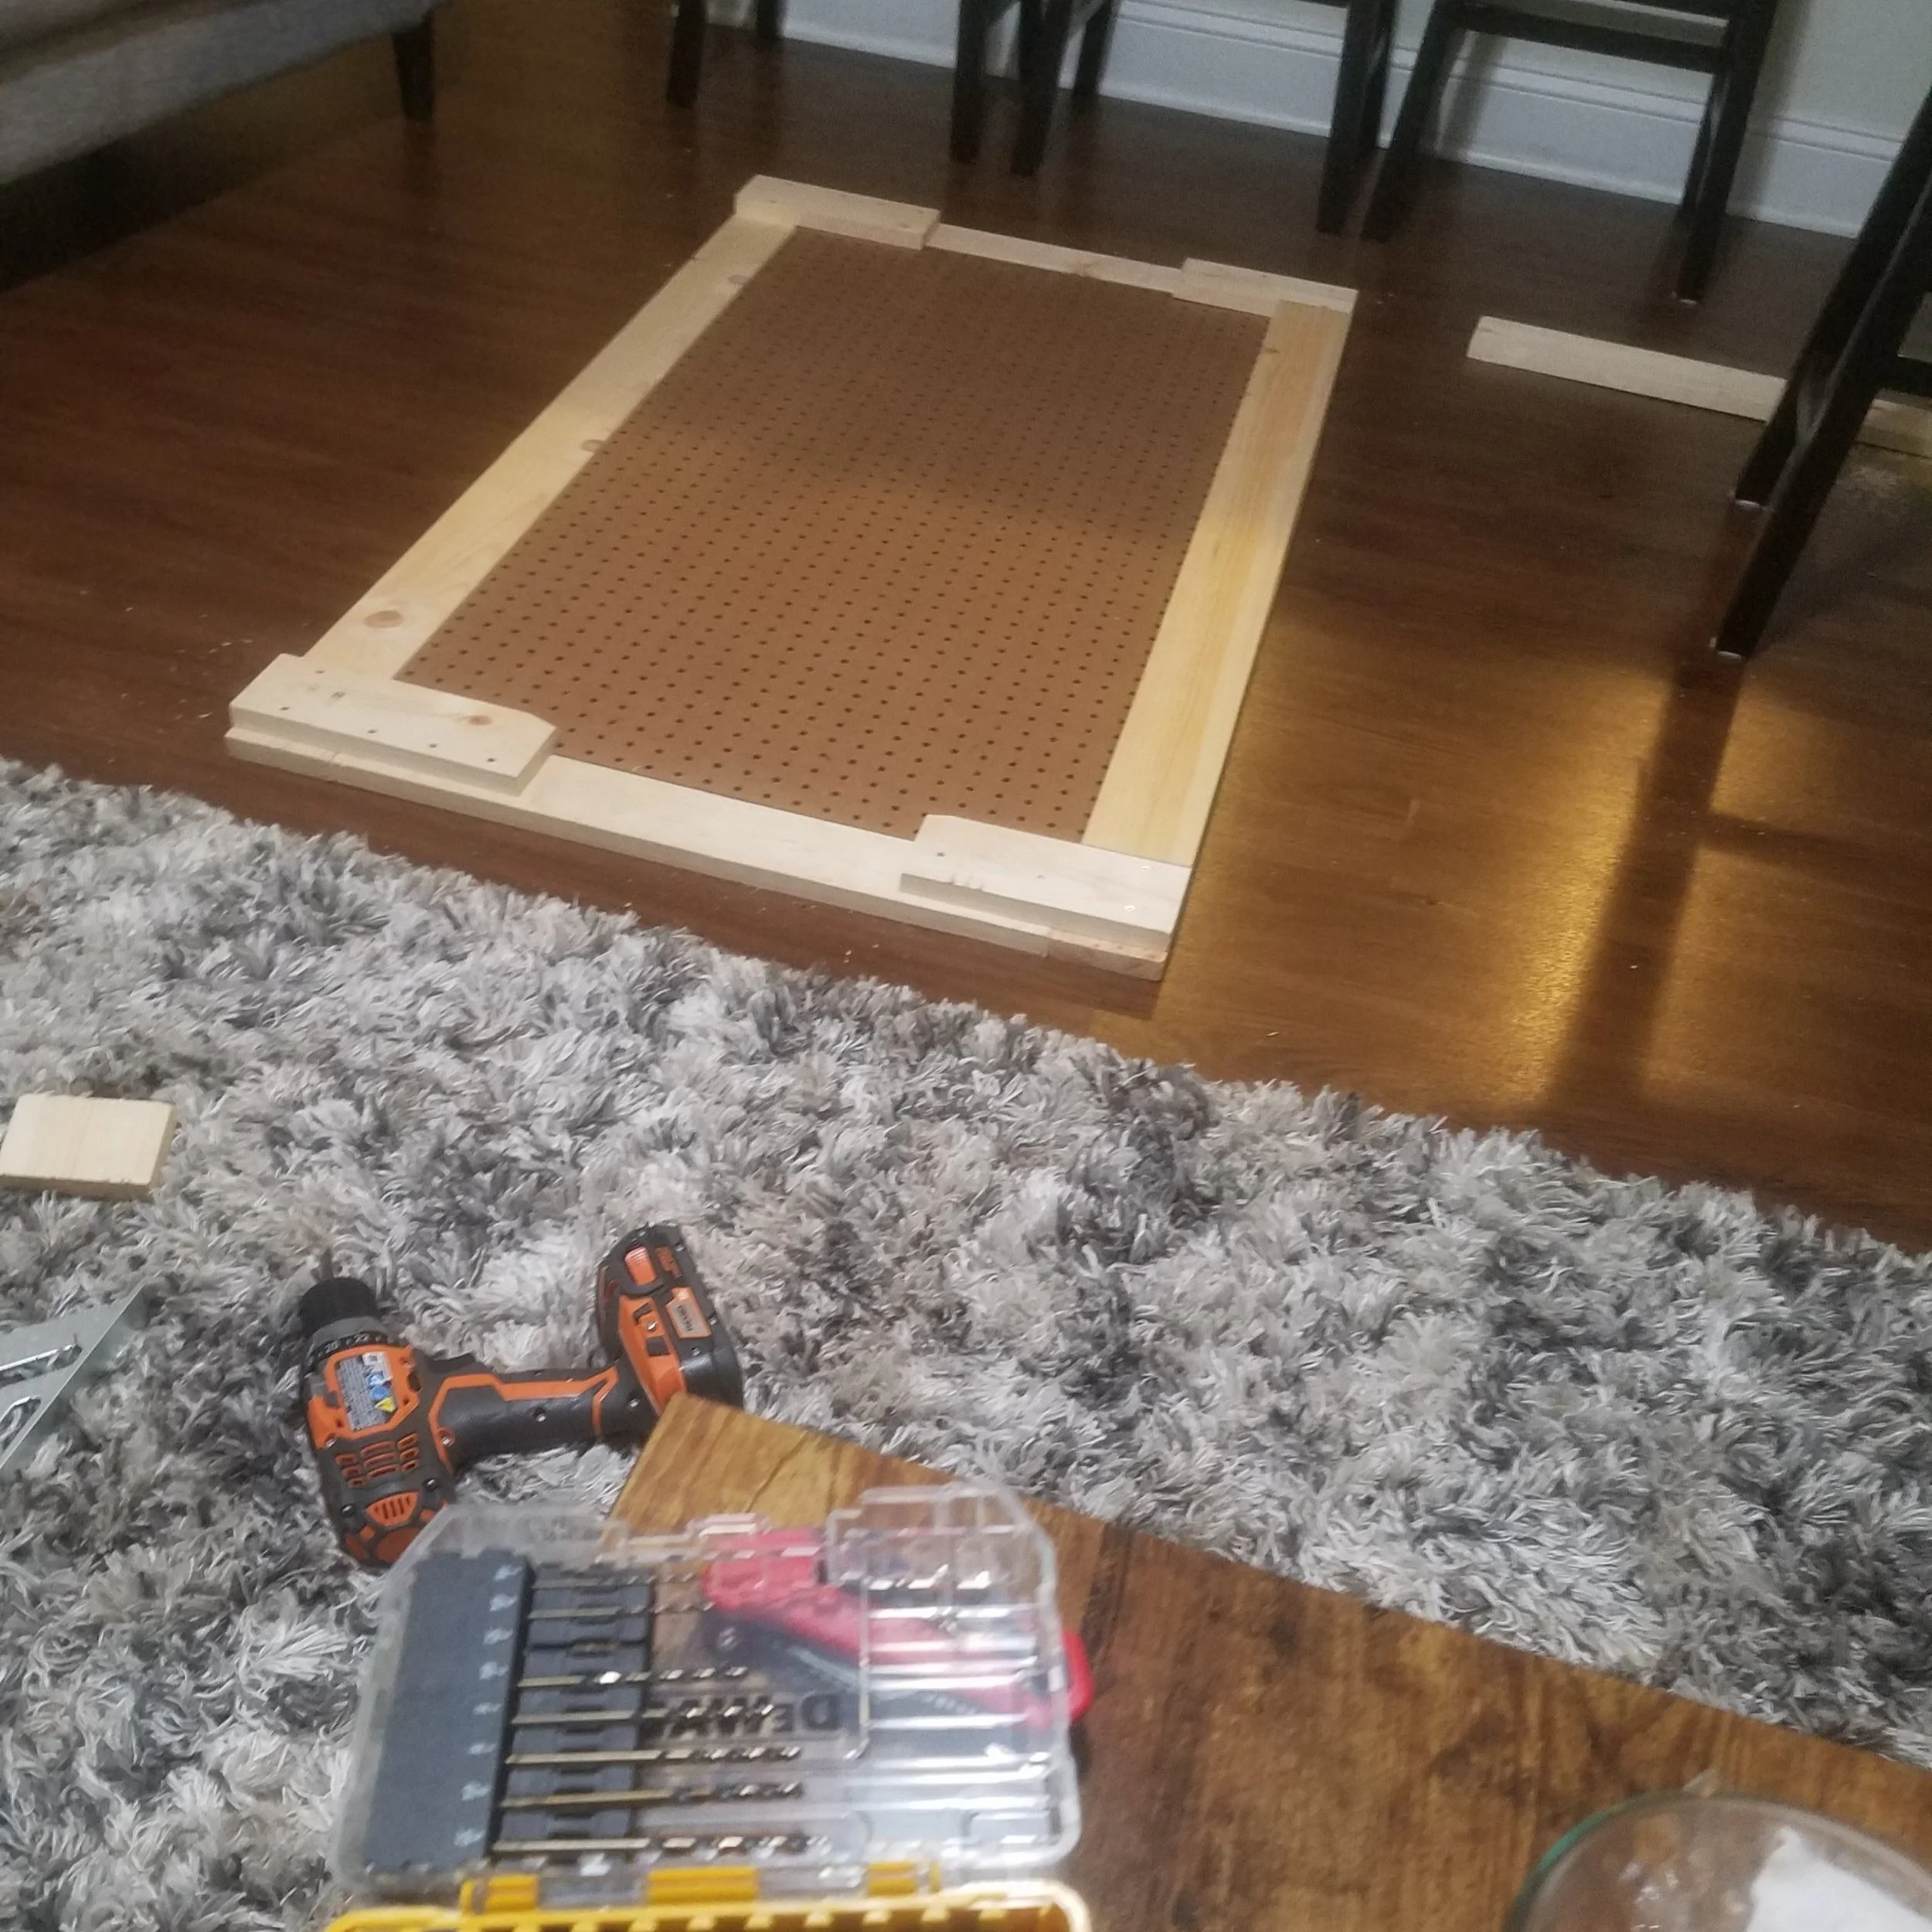
Building a workbench with no existing workbench, I realized here, requires a lot of improvising and some substandard carpentry practices. My sawhorses were barstools, my drilling surface was my living room rug (to avoid dinging the wood laminate flooring), and my router was my Dremel which turned out to be super loud in an apartment!
Final Design: 2ft x 4ft pegboard w/ 4” border made with 1”x4” pine boards | Spacer blocks attached to rear for wall spacing and securing pegboard in place | 2” metal L-braces on front for clean look and added joint strength | Shelf brackets for suspending the shop light
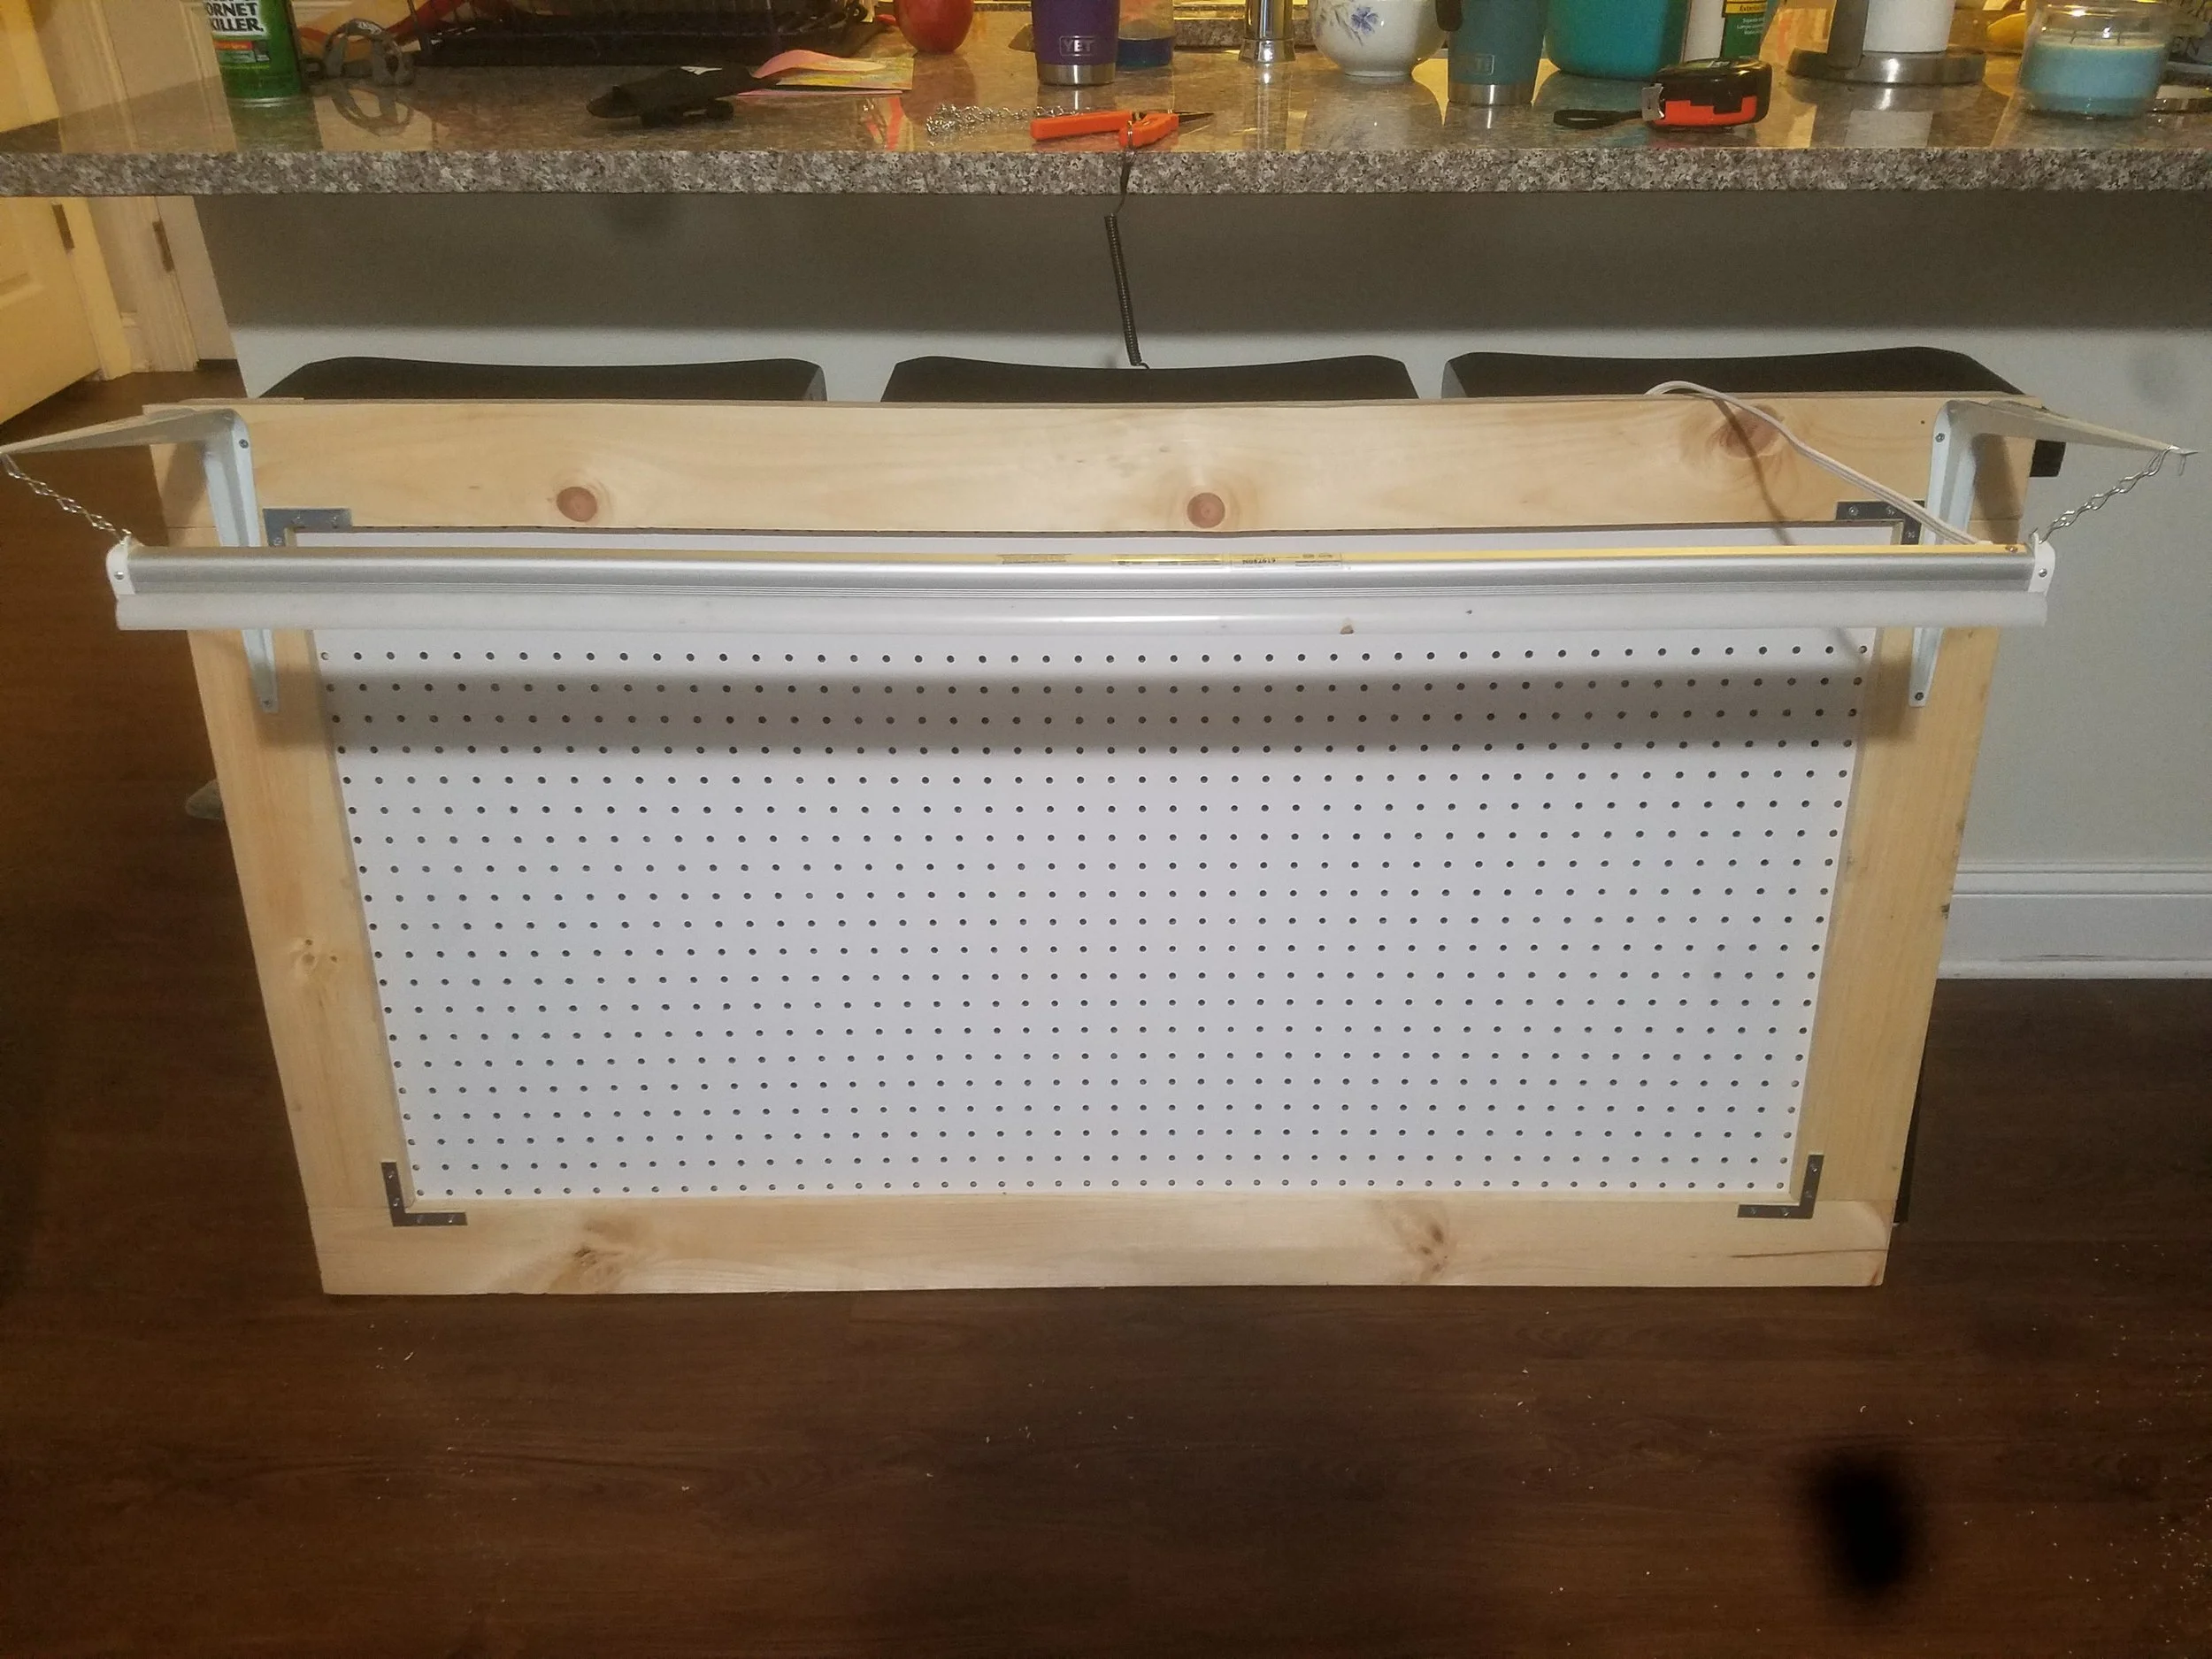


Maneuvering a full sheet of plywood around my apartment turned out to be quite the task. Getting everything loosely into place simultaneously really should have been a two-person job; noted for the future that the cost of a beer or two for a friend’s help is probably worth the effort saved! Regardless, I now have a proper workbench for future (hopefully more “apartment-sized”) projects!
2. Building the benchtop:
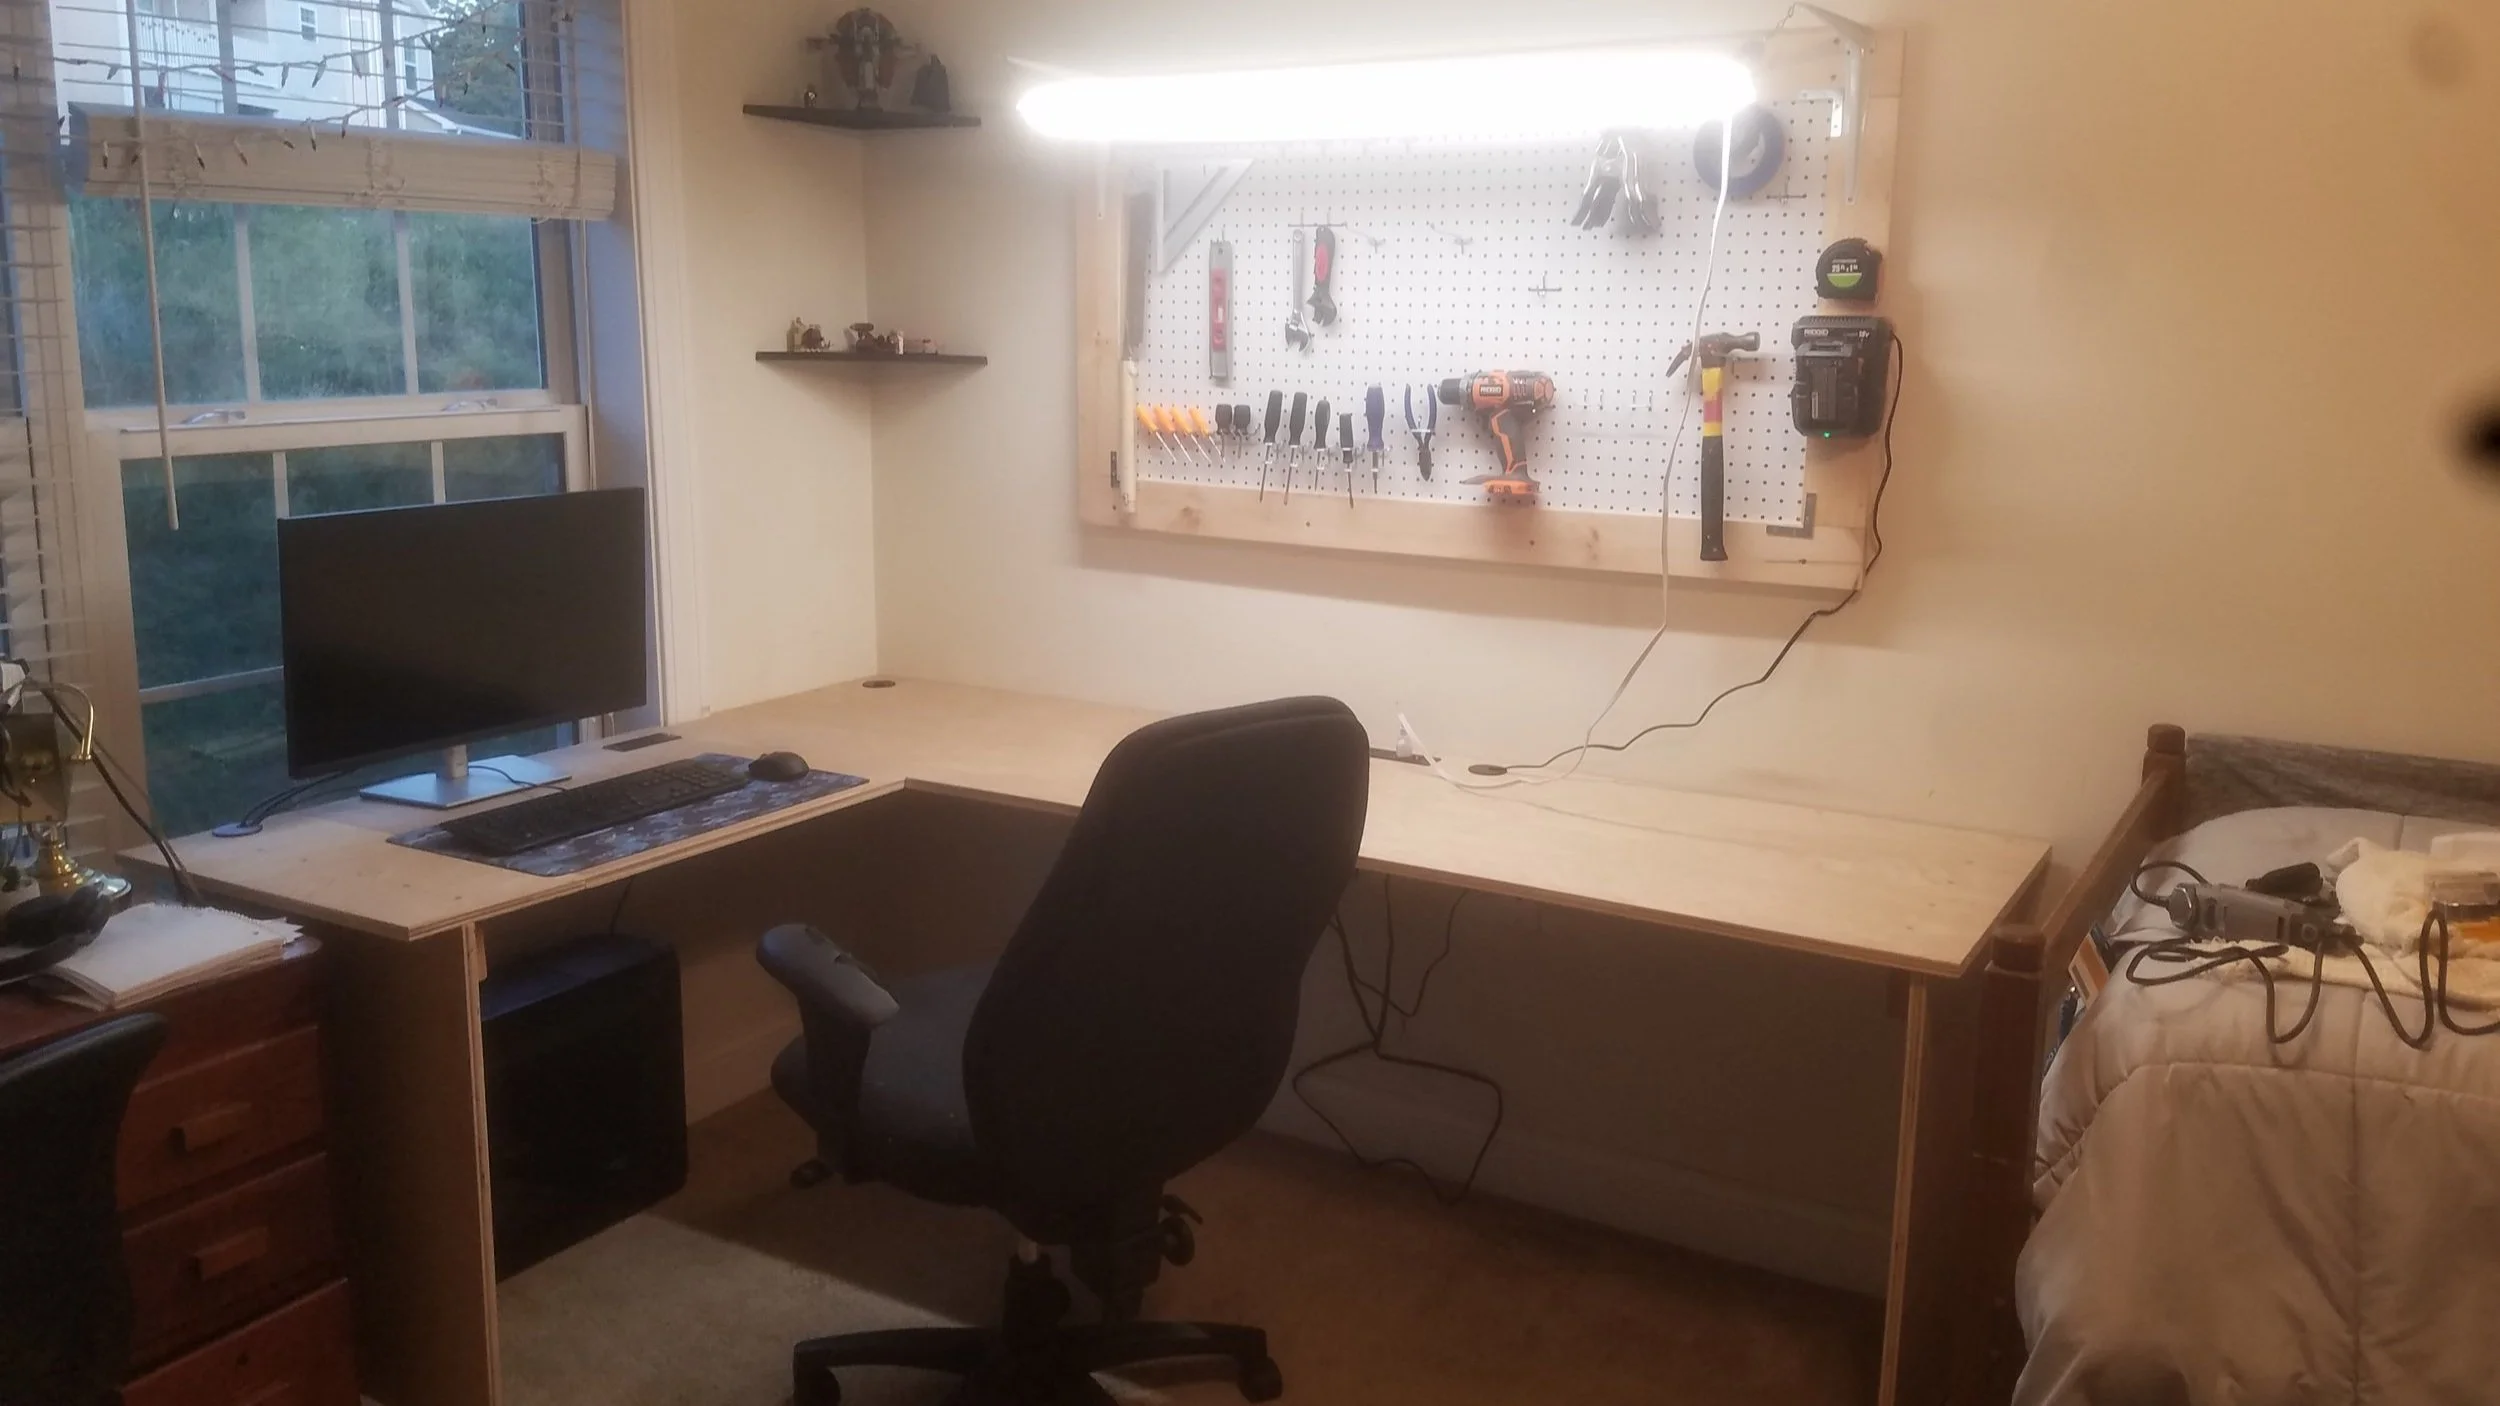
Final Design: 5ft x 7ft L-shaped workbench, 2ft deep work area | (2) 23” x 27” support legs with adjustable feet for easy levelling on carpet | 2”x4” wall supports for the benchtop to sit on, negating the need for rear leg supports (more leg room and storage space) | Recessed power strips and access ports for easy cable management and abundant power supply (all on a 15A breaker, but most of my needs are low-amps anyway)
Wall Supports & Fitting
The plywood benchtop was cut to shape on a table saw at my parents’ place but it still needed to be fitted for the window trim and wall supports. Wall supports were secured at this step.

Final Fitting
The entire benchtop with supports was loosely assembled and moved into position to ensure proper fitting with trim.

Insert Holes & Final Adjustments
The benchtop was designed to include recessed power strips and access ports to provide power and cable management for the workbench. Final adjustments for the support legs was also done at this step.

Final Assembly
The benchtop and supports were finally assembled and secured. The wall warped some which prevented me from having a perfect fit but I was happy with how it came together overall. All power strips and access holes were installed here and the supports’ adjustable feet were fixed to make all the surfaces level.
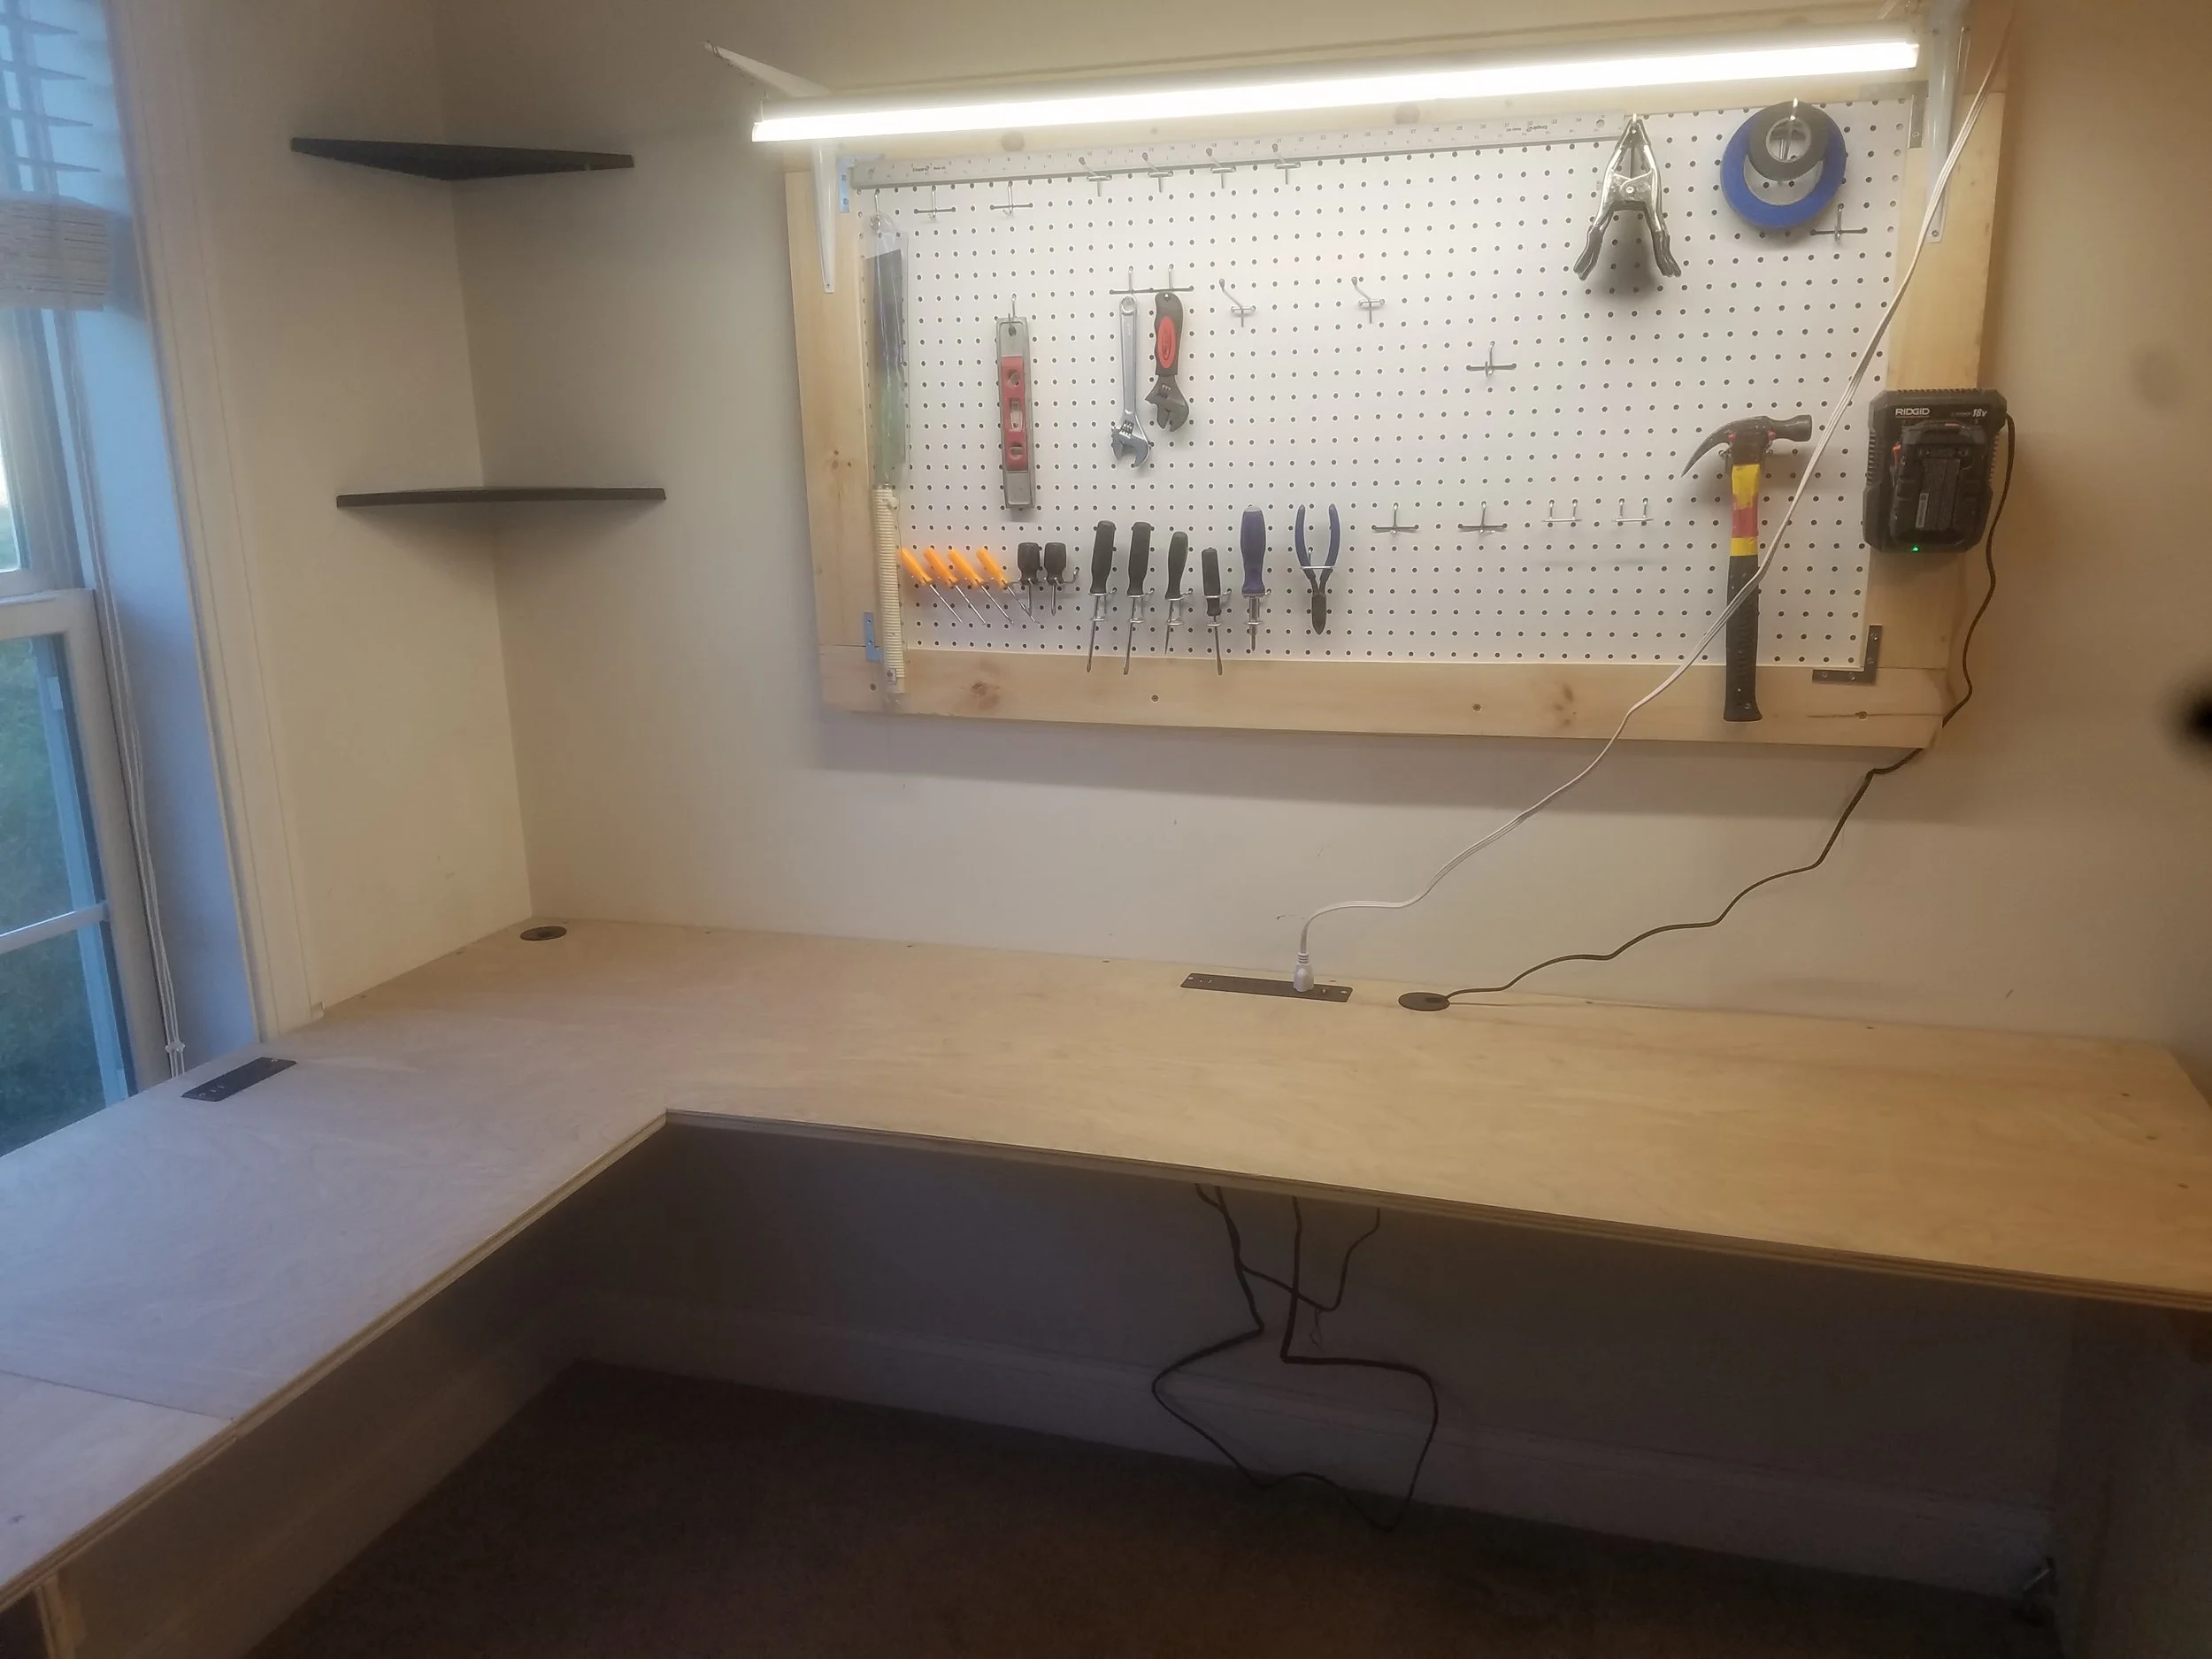
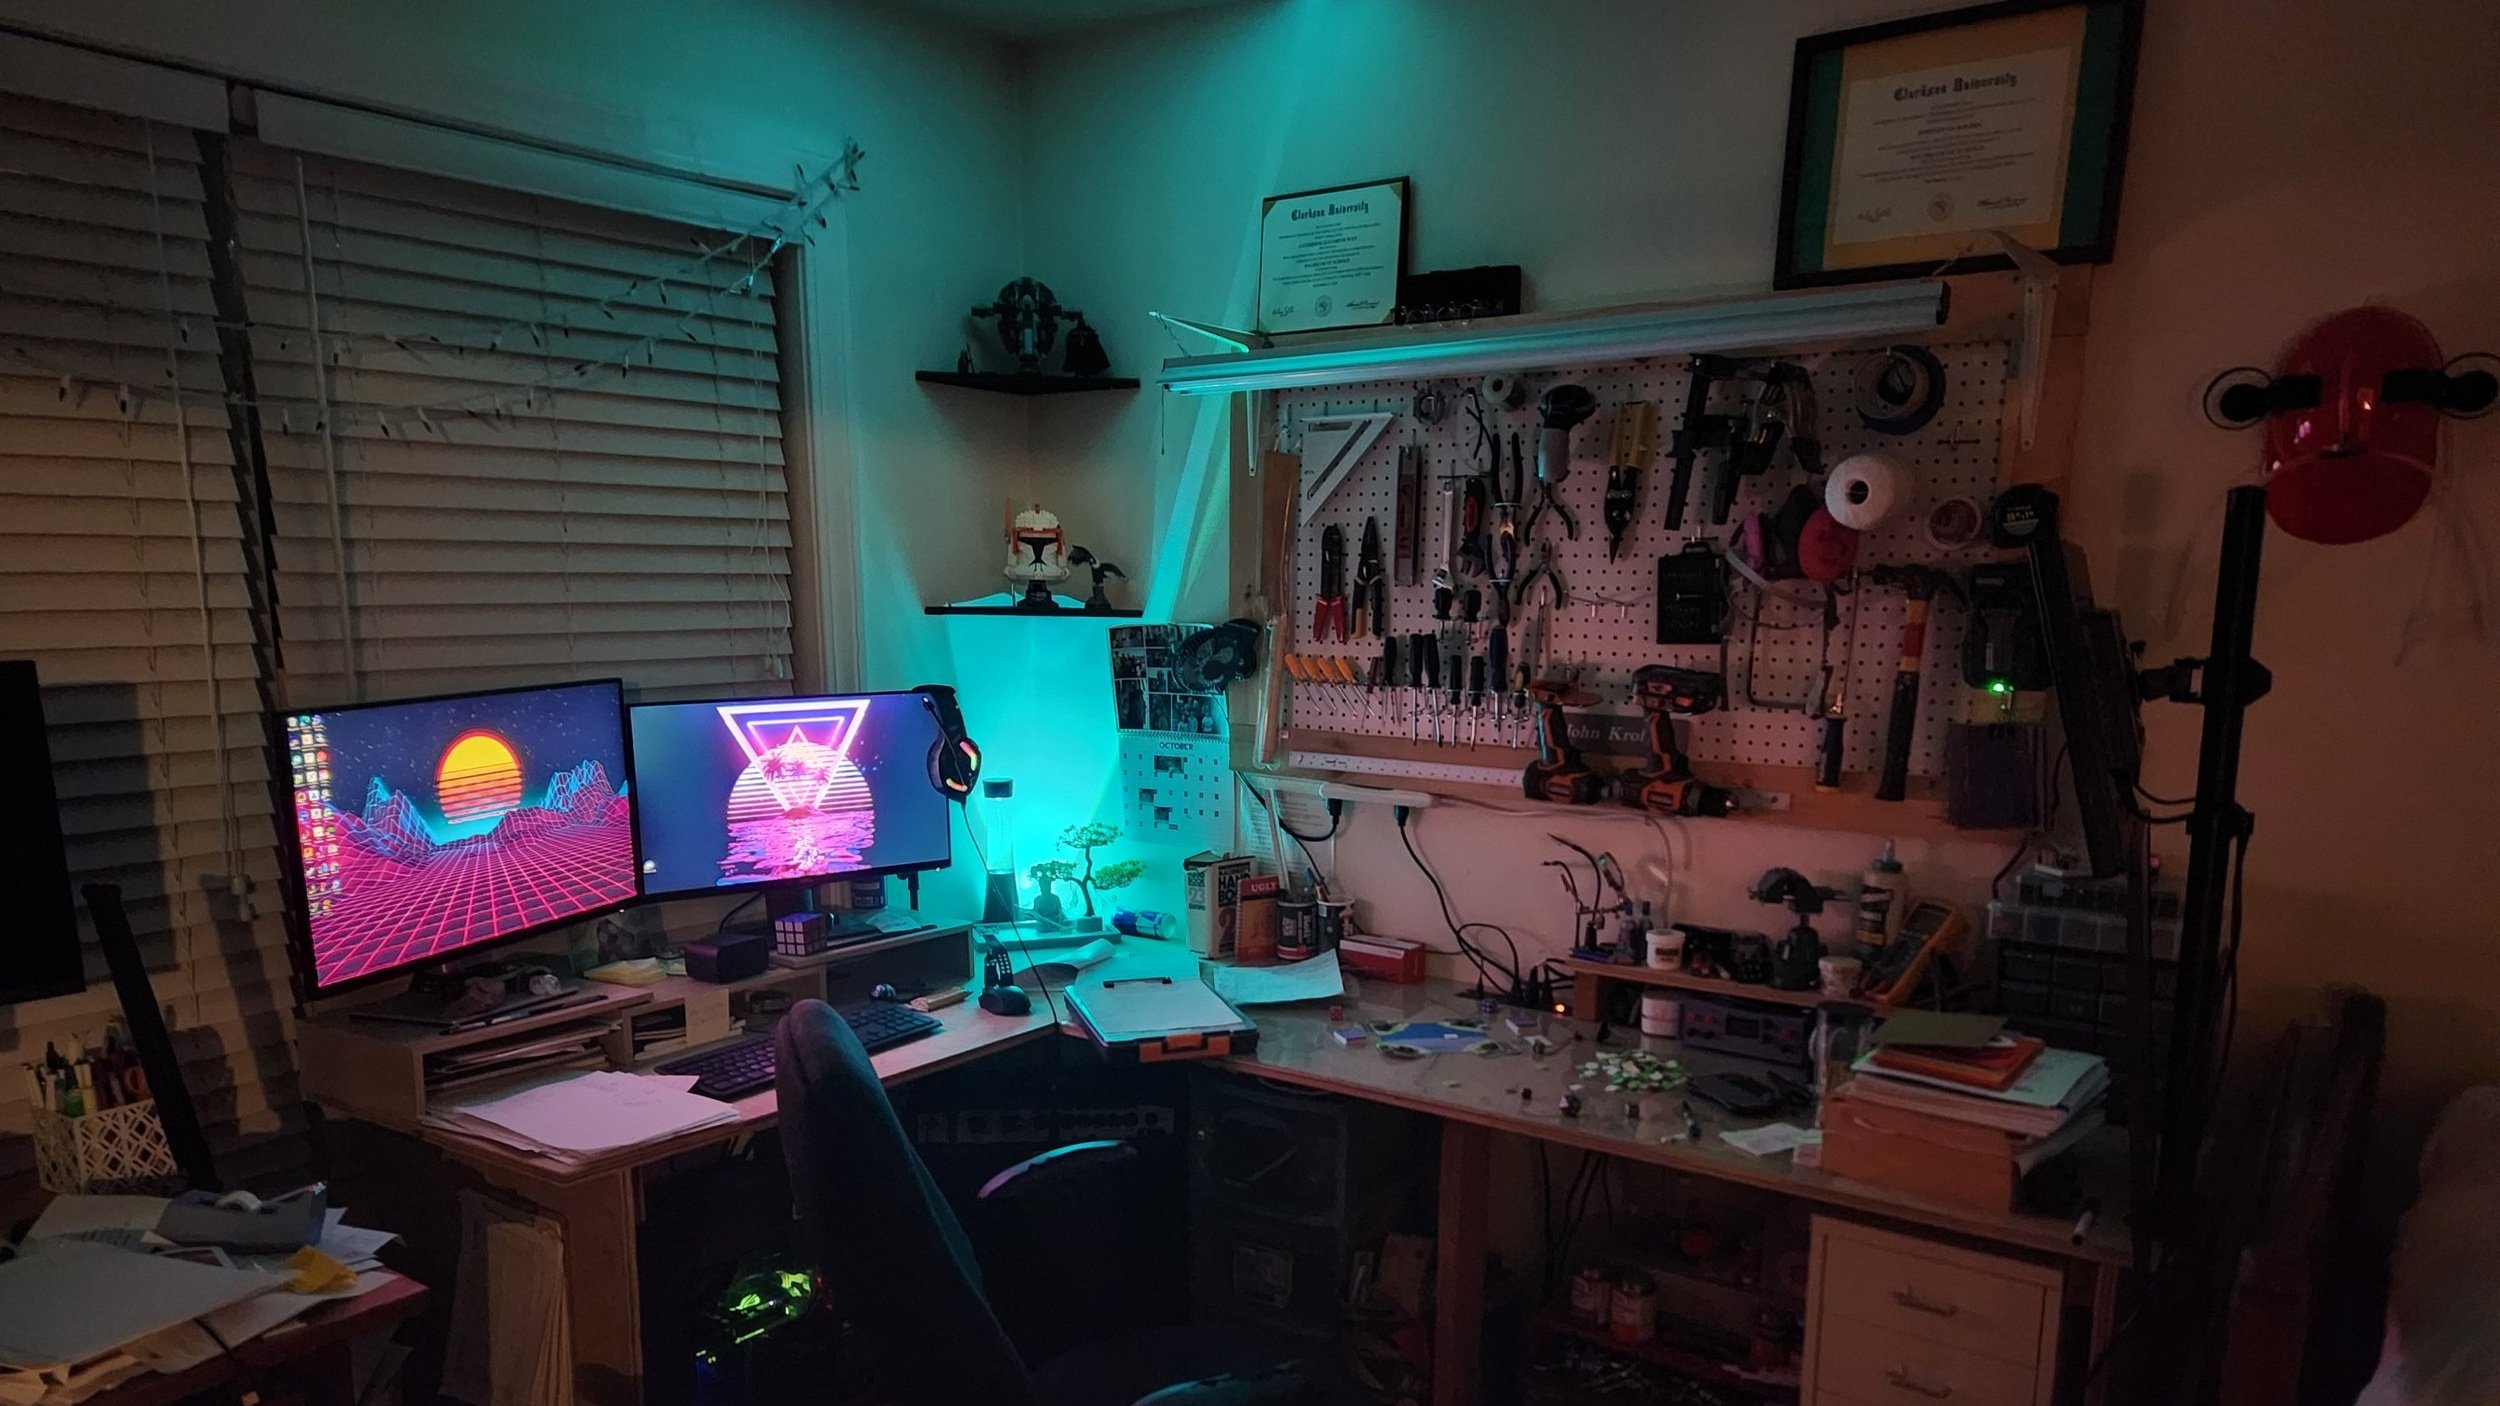
Current State of the Workbench
It’s come a long way from its initial form and it has become an indispensable space for me. I’m always updating my workbench to better suit new activities and optimize the small space that I have in my apartment to work on projects.
